
Graveyard Keeper 2 Automation: Supplier / Factory Checklist
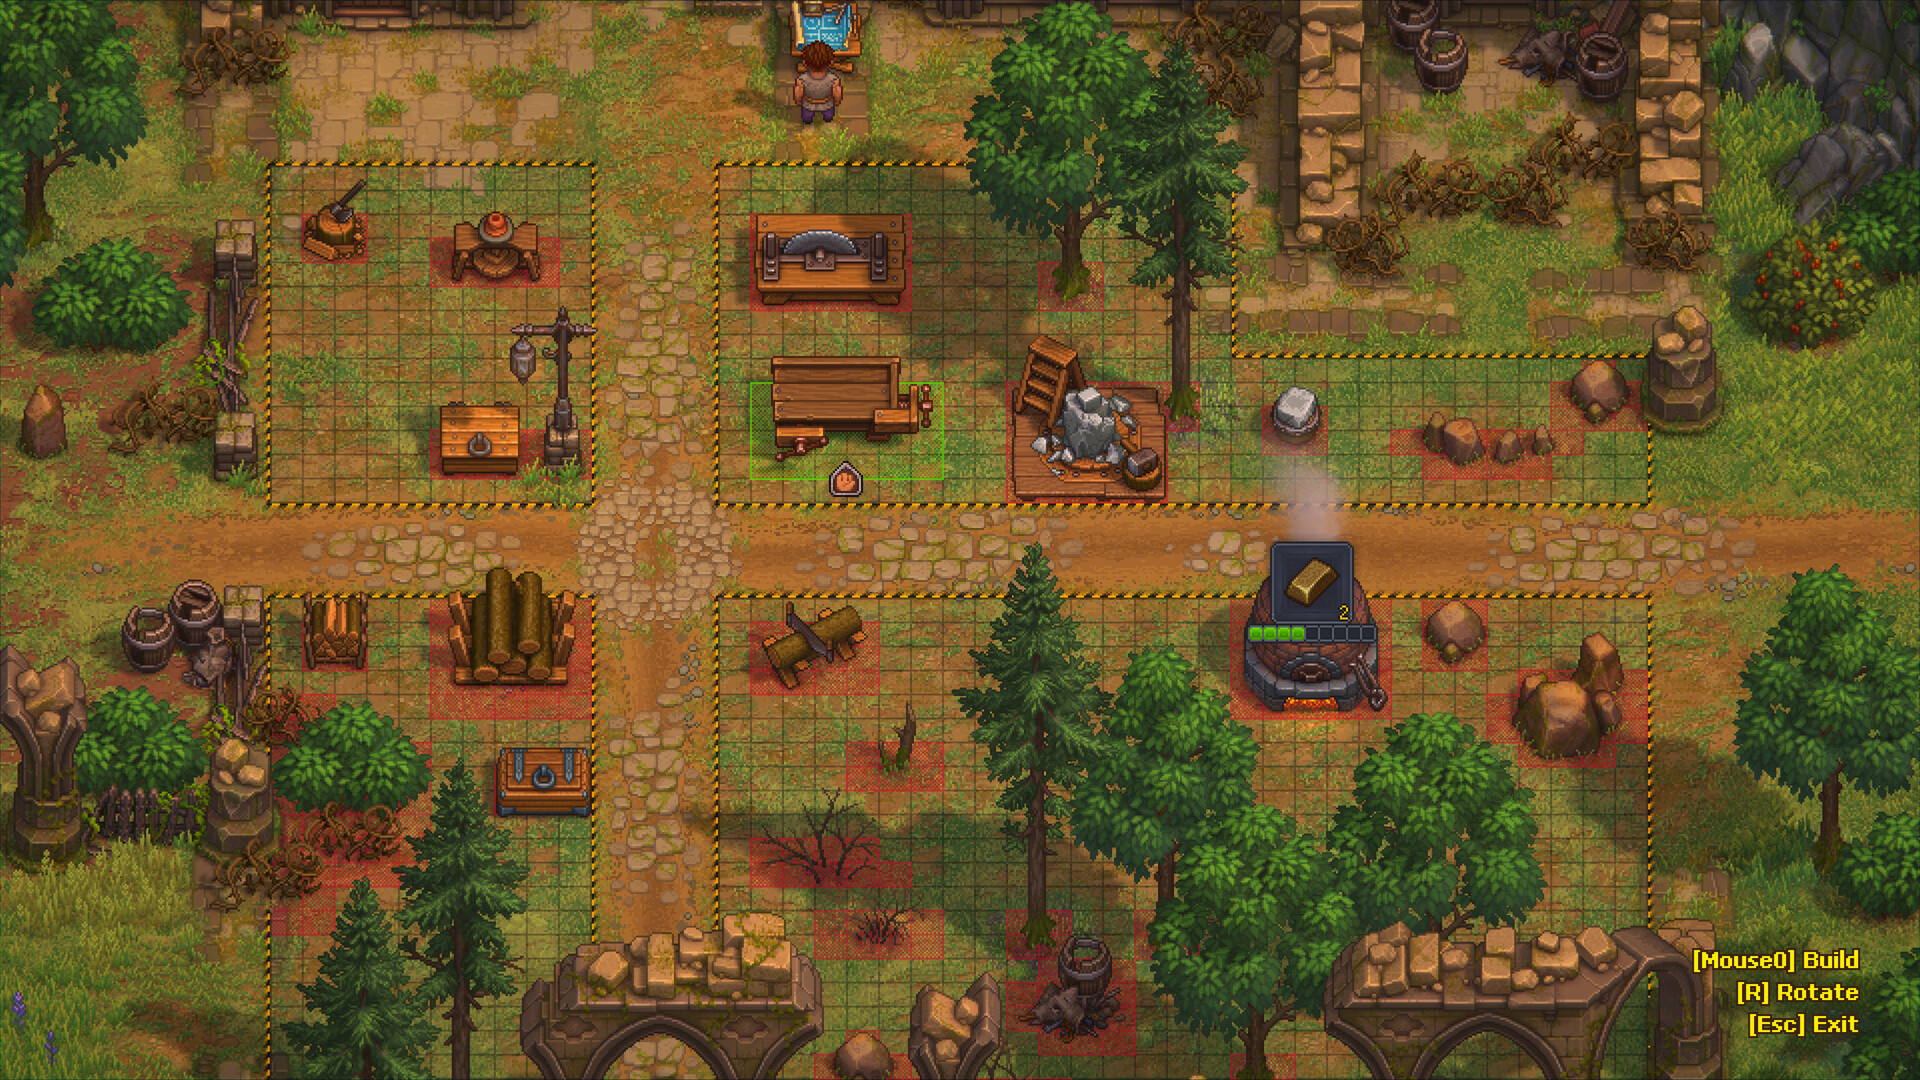
This Graveyard Keeper 2 page is for players who already have zombie workers but production is messy. Unlock/resurrect basics stay on the zombies hub — here we make automation stick.
TL;DR — Automation readiness checklist
| Ready? | Check |
|---|---|
| [ ] | ≥ few zombies reliably completing assigned jobs → Zombies |
| [ ] | You understand corpse triage for worker quality → Autopsy · Red Skull Zombies |
| [ ] | Storage exists near production (not across the map) |
| [ ] | Must-tier logistics/factory techs identified (start with Zombie Assistant / Supplier Station; conveyors after the Jack’s Back in Business quest) → Tech |
| [ ] | You’re willing to rebuild a bad layout once |
Not ready yet? Stay on Zombies Stages 2–3.
Part of the Systems hub — More Graveyard Keeper 2 systems guides
Prerequisites from zombies hub
Finish these first — each row links to the guide that covers it. For tech gates, see Tech Tree Priority.
| Prerequisite | Where |
|---|---|
| Dream Dust / Plague Doctor gate | Dream Dust |
| Resurrection + first workers | Zombies Stage 2 |
| Manual assign working | Zombies Stage 3 |
| Know when red skulls matter | Zombies Stage 4 + Red Skull Zombies |
Separate the worker jobs (don’t mix roles)
Fextralife Factory Automation frames distinct jobs — treat them as non-interchangeable. Tip videos agree on the same split for the iron starter line:
| Role | Problem it solves | Done when |
|---|---|---|
| Station zombie (smithy / assembly) | Performs the craft at a staffed bench; needs tool + mastery matching the recipe | Recipe completes on a real workstation |
| Miner | Digs iron / coal at the mine face (pickaxe) | Ore piles appear for hauling |
| Zombie Supplier Station worker | Keeps production stations fed without you hand-carrying every input (Zombie Assistant tech unlocks the early Supplier Station) | Inputs arrive without constant babysitting |
| Zombie Carousel worker | Provides conveyor capacity / factory power for belts | Total capacity meets belt demand |
| Zombie Supply Porter | Collects packed goods from Factory Supply Stations → supply pallet → warehouse corridor | Outputs clear instead of clogging supply stations; porters often need no tools |
The Bioreactor is an exception: it is an automatic station that runs on its own and does not take a station zombie.
Factory layout checklist
Looking for a Graveyard Keeper 2 factory layout? Prove one iron supply line first (input → smithy → assembly → supply → warehouse), keep storage close, and give each zombie a single-purpose lane before you copy the cell.
The same factory also feeds town warehouse / gratitude / commerce orders — iron supply crates are the easiest first target (the Town Warehouse order board takes orders on Pride). Still build one complete module that finishes a real pack before you expand for every order type. What orders and warehouse crates pay, and when the board takes orders: how to make money fast.
Layout principles (modules)
General principles only — no tile coordinates. Treat layout videos as ideas for modules, not blueprints to copy.
| Module piece | Practical rule |
|---|---|
| Input stockpile + chest | Per resource (iron, coal, wood, stone…): chest or Conveyor Chest buffers ore/logs before the craft module |
| Craft module | Smithy (+ hammer extension for iron) and/or Assembly (+ extension) — one recipe family per cell at first |
| Output chest / Supply Station | Finished crates land where a Supply Porter can grab them |
| Underground belts / splitters | Cross feeds without blocking; fan iron/coal to parallel furnaces later |
| First module near ore entry | Keep smithy close to the ore entry to minimize belt length (and power spend) |
| Expand parallel later | One furnace is slow — plan space for parallel smithies after the first iron loop is stable |
[Mine / ore entry] → [Miner + porter] → [Input chest]
 → [Smithy + station zombie] → [Assembly + station zombie]
 → [Supply Station] → [Supply Porter → pallet] → [Long porter → warehouse]
 Carousel workers power belt capacity
First-line smoke test (iron supply)
Prove the iron supply crate path before you sprawl into wood/stone kits. Steps only — no tile coordinates. Wooden Kit I and other restoration kits are later maturity modules, not the first-line smoke test.
- [ ] Quest-gate conveyors — finish the Jack’s Back in Business quest so the Building-tab conveyor / assembly / crate / zombie-delivery path unlocks.
- [ ] Clear rubble to the warehouse ladder corridor (and factory-floor rubble that blocks teleport / belt runs). Craft the clear materials in a batch if the same recipe repeats.
- [ ] Staff the Carousel until factory power covers demand: each Carousel worker supplies 7 power (10 with Belt Master), each conveyor piece on the line uses 1, and power equal to demand is enough.
- [ ] Miner + porter feed iron and coal into the factory input chests / belts.
- [ ] Short belt → smithy → assembly → supply station — iron+coal into smithy (hammer extension), ingots into assembly (iron supplies / crates), Supply Station at the end with a station worker where required.
- [ ] Porter → pallet → warehouse — Supply Porter grabs finished crates onto the supply pallet; long porter path reaches the town warehouse drop-off.
- [ ] Claim one iron order on the warehouse board on Pride (the only day the board takes orders; finished orders pay money and 10 to 80 Likes). Watch one crate fulfill.
If the line stalls, jump to When the line won’t run below. After iron is stable, add wood-kit / brick-glass modules as separate cells (see Maturity). Kit recipes by station: automate restoration kits.
Power / carousel notes (capacity, not speed)
| Topic | Practical rule |
|---|---|
| What power means | Belt pieces, splitters, underground conveyors, and Supply Stations each add demand; Carousel workers add capacity |
| Capacity per worker | Each staffed Carousel worker supplies 7 power, 10 with the Belt Master perk; each conveyor piece uses 1, and power equal to demand is enough. An empty Carousel supplies nothing |
| Spare capacity | Lets you place more conveyor pieces; spare capacity ≠ craft speed — it does not by itself make recipes faster |
| Crafted “Zombie Power” items | Later recipe ingredients — not the same thing as Carousel capacity |
Footnote: Wikily lists the Carousel at +7 Factory power, 10 with the Keeper perk Belt Master. Belt Master is +3 per worker (7 → 10); Fextralife and Neoseeker give the same 7 / 10. Minimum gear readings quoted in tip videos are not measured here, so this page makes no “best carousel ratio” claim.
Mistake table
| Mistake | What breaks | Fix |
|---|---|---|
| Automating before first reliable workers | Empty “factory” fantasy | Finish Zombies Stage 3 |
| Starting with multi-kit sprawl before iron smoke test | Unfinishable maze | Prove iron→warehouse first; kits later |
| Storage across the map / smithy far from ore entry | Pathing + power dead spend | Move chests adjacent; keep first module near ore entry |
| One chest for all items | Sorting hell / wrong inputs | Split storage / filters by loop |
| No Supply Porter for packed outputs | Supply Station backups | Assign porter; free Supply Storage space |
| Belts stop across the factory | Capacity < demand | Staff more Carousels or trim belts |
| Wrong belt arrow direction | Silent stall mid-line | Rotate belts (often R) until arrows face the flow |
| Materials arrive but craft never starts | Wrong recipe / mastery / missing extension / wrong tool | Match worker + machine tier + tool icon to the recipe |
| Ignoring worker quality on key stations | Slow critical craft | Prep better corpses → Red Skull Zombies |
| Unlocking random factory techs / trusting guide-quoted Jack rep or tech-point costs | Points wasted | Follow Tech Priority; tip-list Jack reputation and tech-point numbers are hints, not fact |
| Expanding a jammed cell | Bigger chaos | Troubleshoot the first blocked stage |
| Copying GK1 factory muscle memory / tile-perfect creator coords | Wrong game assumptions | Plan every module from GK2 sources; use principles only |
Too many zombies? Check the zombie limit before you add more workers.
When the line won’t run
Work this list in order. Most “broken factories” fail on role split, belt arrows, or a missing warehouse order — not on layout art.
- Carousel staffed / power ≥ demand? A power zombie must be on the Zombie Carousel. Capacity must cover every belt piece + Supply Station. Carousel staffed ≠ station craft running.
- Belt arrows & connections? Check that the belt actually connects input → smithy → assembly → supply and that arrows face the intended flow. Wrong direction is the #1 silent break.
- Station has a worker? A separate craft zombie must be on the smithy / assembly. Do not expect the Carousel zombie to also craft.
- Mastery / tool matches recipe? Recipe may need higher Building / Metallurgy mastery, a station extension, or a better tool on the worker — the red lock text and tool icon on the recipe show which (the tool a zombie carries adds a bonus to its mastery, on top of its own skills and perks).
- Inputs present? Iron + coal (or other inputs) in the feeding chest / belt path; empty chest = silent stall. Conveyor chests can manually inject a few ingots to speed the first test.
- Recipe queued? Station has the intended recipe queued (iron supplies / crates for the smoke test). Wrong recipe looks like a jam. Queue a large batch so the line self-runs.
- Supply station + porter path open? Supply Station at the end of the line; Supply Porter → pallet → long porter corridor clear of rubble.
- Warehouse order actually set? On Pride, claim / activate the iron supply order on the warehouse board. A running factory with no active order still looks “broken” if you expected gratitude. Patch 1.007 fixed iron supply delivery quests getting stuck, so update the game before you debug an order that never completes.
Role split reminder: Carousel = belt capacity; station zombie = craft; Supplier / Porter = logistics; Miner = ore. Mixing those roles is the #1 false “power” fix.
Manual assign → light logistics → factory (maturity model)
| Maturity | What you do | Stop advancing if… |
|---|---|---|
| M1 Manual | Assign jobs one-by-one; watch cycles | Jobs don’t complete |
| M2 Light logistics | Add Supplier Station; nearby storage | Still babysitting every input |
| M3 Factory cell (iron smoke) | One iron module: ore → smithy → assembly → supply → warehouse gratitude order | Cell jams unresolved; no active warehouse order |
| M4 Expand modules | After iron is stable, add wood-kit and brick/glass modules (principle-level: input chest → craft → output; underground/splitters for crosses) to automate restoration kits / alternate crates; duplicate working cells | Expanding a broken cell; copying tile coords from layout videos |
Worker quality at automation stage
| Station importance | Worker policy |
|---|---|
| Bottleneck craft (smithy / assembly) | Improve corpse/collar/perk quality → Red Skull Zombies |
| Bulk simple jobs / transporters / porters | Any reliable worker OK (low red often fine; porters often tool-less) |
| Carousel / miner roles | Prioritize reliability and free zombie-limit budget over max reds |
| Don’t | Replace entire army before one loop is stable |
To get a worker's mastery up to the recipe, see zombie mastery & perks.
Tech unlocks that matter
| Priority bias | Why | Page |
|---|---|---|
| Zombie Assistant → Supplier Station | Makes early loops real without full factory | Tech Priority |
| Jack’s Back in Business → conveyors / assembly / crates / zombie delivery | Gates the real factory belt path; tip-list battle / reputation requirements and Jack-rep RGB figures are not treated as settled fact here | Quest complete; conveyors appear in the Building tab |
| Carousel repair (Broken Zombie Carousel) | Gates factory power — the repair takes 6 Bronze Gear, 4 Bronze Detail and 4 Wooden Plank at Building mastery 5 | Carousel repaired and staffed |
| Smithy hammer / zombie mining (near smithy I–class nodes) | Iron smoke test needs hammer extension + miners with pickaxes | Match to the craft you actually queue |
| Station capacity / extension nodes | Removes recipe locks (bellows / drill press / auto-hammer for later kits) | Match to the craft you actually queue |
| Skip late cosmetics / multi-kit sprawl | Don’t tourist before iron is stable | Tech Priority Later/Skip tiers |
Done when (stable loop checklist)
- [ ] Iron smoke test fulfilled one warehouse / gratitude order without hand-carrying every crate
- [ ] Supplier Station and/or Supply Porter roles assigned correctly for that loop
- [ ] Carousel capacity ≥ belt demand (if using conveyors)
- [ ] Storage placement fixed after at least one jam; smithy near ore entry
- [ ] Mistake table + When the line won’t run reviewed against your layout
- [ ] Next expansion (wood-kit / brick-glass) copied from a working cell — not a new maze
- [ ] Worker quality improved only on bottleneck stations
FAQ
Q: When am I ready to automate vs still manually assigning?
A: When several zombies already complete jobs reliably. If assignment itself is broken, stay on the zombies hub.
Q: What do Supplier / Porter zombies do?
A: Supplier Station workers feed inputs to production; Supply Porters move packed factory supplies into Supply Storage / the warehouse corridor. Carousel workers provide belt capacity — a different job from the station craft zombie. Staffing the Carousel does not craft crates; assign a separate station worker for that.
Q: What layout mistakes break production?
A: Far storage, single mega-chest, missing porters, capacity shortfalls, wrong belt arrows, expanding before one loop is stable — see mistake table. For a silent stall, run When the line won’t run (Carousel/power → belt arrows → station worker → mastery/tool → inputs → recipe → supply/porter path → warehouse order set).
Q: Which techs should I unlock before expanding the factory?
A: Zombie Assistant / Supplier Station first, then Jack’s Back in Business for conveyors, then smithy/assembly gates for the iron module you need — Tech Priority. Tip-list Jack reputation and tech-point numbers are hints only.
Q: What’s the early factory target — kits or town orders?
A: Aim for repeatable town warehouse orders first (town gratitude). Iron supply is the easiest starter module across tip videos. The board takes orders only on Pride, and finished orders pay money and 10 to 80 Likes. Wood-kit and brick/glass modules come after iron is stable — principle-level only, no tile coords.
Q: How does corpse/worker quality still matter?
A: Key stations still benefit from better perk slots. Prep on Autopsy and Red Skull Zombies; don’t mass-replace every zombie at once.
Q: Carousel zombie vs station zombie — same worker?
A: No. Carousel = belt capacity; station = craft. Mixing them is why “I staffed the Carousel but nothing crafts” happens — see When the line won’t run.
Q: Where is the full zombie unlock guide?
A: Graveyard Keeper 2 Zombies — this page assumes workers exist.
Also read
- Graveyard Keeper 2 Zombies — parent hub
- Graveyard Keeper 2 Tech Tree Priority
- Graveyard Keeper 2 Autopsy & Skulls
- Graveyard Keeper 2 Red Skull Zombies
- Graveyard Keeper 2 Beginner Guide
- Dream Dust gate — Accurate Plague Doctor unlock steps — then jump to the zombies hub.
- Energy, insanity & early bread — Day-1 survival loop: meters + wheat→flour→bread ladder.
- Faith & sermons weekly loop — Sermon prep + church quality checklist so Faith keeps progression moving.
- Alchemy & runes how-to — How study, runes, and brewing work — the system behind Dream Dust, not a recipe list.