
Graveyard Keeper 2 Alchemy: How Runes Work + Key Progression Recipes
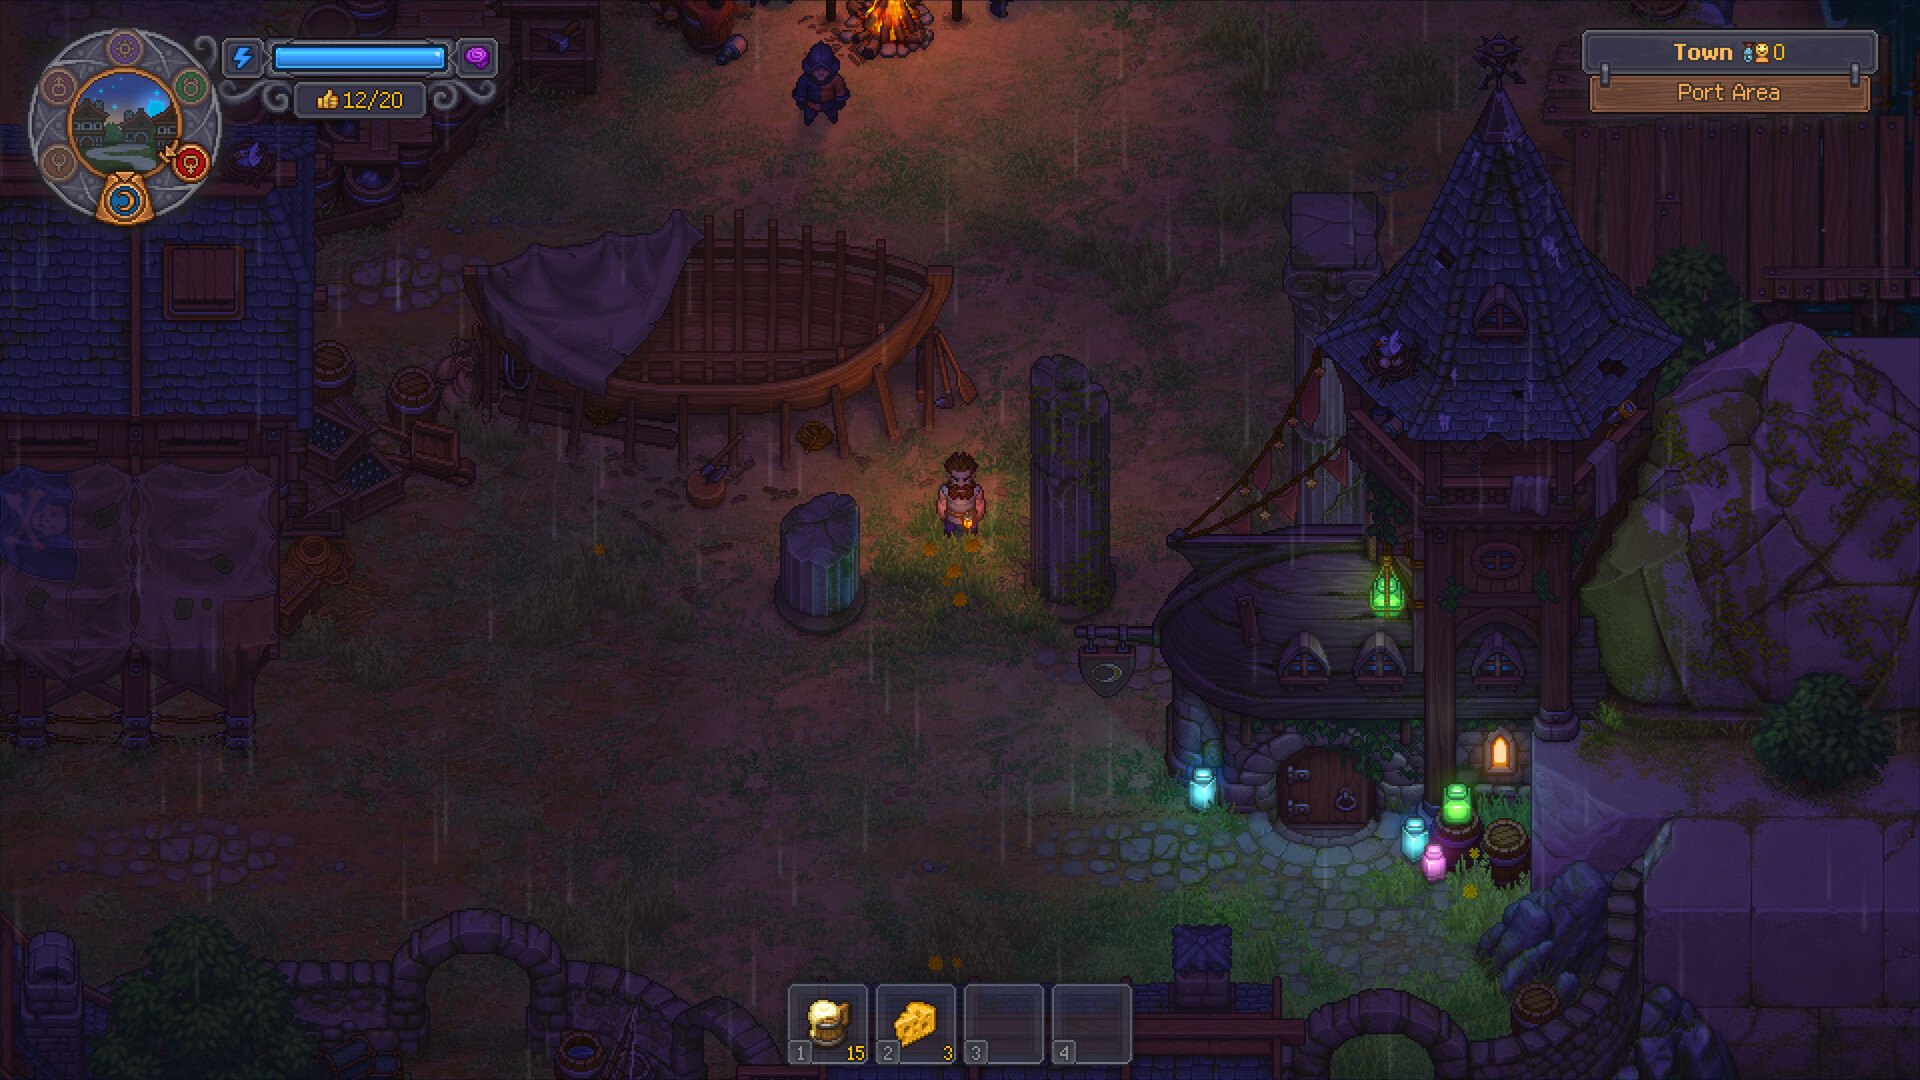
Alchemy in Graveyard Keeper 2 comes down to one rule: ingredients carry red, green and blue runes, and the total decides what you brew. This page explains the rule, the stations, and the handful of recipes that actually move your game forward. The full formula list, with every mix, is on Wikily.
TL;DR — Five checks before any brew
| # | Check | If it fails |
|---|---|---|
| 1 | Lab open (Abandoned Tower, after the Plague Doctor quest) | Follow the Dream Dust walkthrough |
| 2 | Every ingredient studied at the Study Table | The lab refuses unknown ingredients |
| 3 | Runes add up exactly to the formula | One too many or too few makes nothing |
| 4 | Flasks on the Flask shelf; the alchemy overview on Wikily says brews also use fuel | Each brew uses 1 Alchemy Flask |
| 5 | Right lab tier | Three-ingredient mixes need Laboratory II |
Part of the Systems hub — More Graveyard Keeper 2 systems guides
How runes work
- Three runes: red, green, blue. Every alchemy ingredient carries some mix of them. Clay is 1 red, Flour is 2 green, Ash is 1 green + 1 blue.
- Runes add up. The lab sums each colour across the ingredients you put in. Clay + Water is 1 red + 1 green.
- The match must be exact. 2 red + 1 green is a different formula from 2 red, or no formula at all.
- Ingredients are interchangeable. Only runes matter, so Clay and Sand (1 red each) are swappable in every formula. That's why guides "disagree" on recipes: they're all right.
- Up to 5 of any one colour per mix.
- Laboratory I holds up to two ingredients, Laboratory II up to three.
Wikily counts 29 formulas and 62 rune-carrying ingredients, with thousands of working mixes. You don't need the full list. You need a few reliable ingredients per colour.
Your recipe memory is the Folio. The first time you brew a formula it's recorded, even if you hadn't unlocked it yet, and most formulas are also revealed by a technology. The book at the lab shows the runes each target needs.
Rune cheat sheet: reliable ingredients by colour
Study a few from each row and you can reach most early formulas.
| Runes | Ingredients |
|---|---|
| 1 red | Clay, Sand, Flesh |
| 2 red | Stone, Red Mushroom |
| 3 red | Melted Fat |
| 1 green | Water, Berry, Leaf, Stick |
| 2 green | Flour, Onion, Swamp mushroom |
| 1 blue | Blood, Blueberry, Seed oil |
| 2 blue | Night flower, Minced Meat, Zombie goo |
| 3 blue | Alcohol |
| 1 green + 1 blue | Ash, Peat |
| 1 red + 1 green | Tooth, Flax |
| 2 red + 1 green | Copper Nugget |
The Alchemic Powders carry exactly the runes printed in their names and are known from the start, so they never need studying. They are handy for topping up a colour that is one short.
Studying: Science, Faith and dead ends
The lab refuses any ingredient whose runes you haven't studied.
- Study one of an item at the Study Table. It costs Science. Some ingredients also cost 1–5 Faith. You keep the item and earn tech points.
- Science comes from breaking down blank paper or Science Kits on the table; a kit is worth 30 Science. For kit recipes and point totals, see Science & blue points from studying.
- Many items have no runes at all. One creator studied a pie and found no runes, which wasted the Science. Study ingredients you actually plan to mix: raw plants, minerals, liquids.
- Body parts: only Blood, Flesh, and the Gold Heart, Brain and Guts carry runes. Normal organs do not.
- Patch 1.007 fixed the Study Table not awarding Science and some items being unstudiable. If research looks broken, update first.
Stations at a glance
| Station | What it does | Fuel |
|---|---|---|
| Study Table | Reveals runes; pays tech points | — |
| Flask shelf | 1 Alchemy Flasks I placed = 5 flasks for the lab (Flasks II = 10); make flasks from glass at the furnace | — |
| Laboratory I | Two-ingredient mixes | Uses flasks; the alchemy overview on Wikily says brews also use fuel |
| Laboratory II | Three-ingredient mixes | Uses flasks; the alchemy overview on Wikily says brews also use fuel |
| Distillation Cube | Melted Fat, Alcohol, Fragrance: fixed recipes, 2 clay containers each | 20 Fuel per run |
| Formulation Bench | Fertilisers, candles, incense, paper glop, embalming fluids, Gold organ upgrades | None |
The Distillation Cube and Formulation Bench are ordinary crafting stations, not rune mixing. Their recipes don't change. The Cube is built from 2 Wooden Plank, 2 Bronze Detail and 12 Brick after the Alchemy, Distillation technology.
Key progression recipes
| Product | Station | Runes / recipe | Example mix | Why you want it |
|---|---|---|---|---|
| Dream Dust | Lab I | 1 green + 1 blue | Water + Blood, or one Peat | Plague Doctor quest, fairy summoning |
| Paint | Lab I | 2 green | One Flour, or one Swamp mushroom | Printed Money, the Safe Harbor quest; sells well |
| Preservative | Lab I | 3 green | Water + Flour | Base for embalming fluids |
| Healing Potion | Lab I | 2 red | Clay + Sand, or one Stone | Restores 20 of 100 health in a fight |
| Organ Improver (red skull) | Lab I | 4 red + 1 green | Copper Nugget + Red Mushroom; Tooth + Melted Fat | Gold red-skull organs |
| Organ Improver (white skull) | Lab I | 4 green | Flour + Flour | Gold white-skull organs |
| Reanimation Liquid | Lab II | 2 red + 1 green + 4 blue | Copper Nugget + Night flower + Night flower | 1 per resurrection |
| Melted Fat | Distillation Cube | 1 Fat + 2 Clay Plate + 20 Fuel → 4 | — (fixed recipe) | Oiled planks, incense, ink, embalming |
| Alcohol | Distillation Cube | 1 Wine + 2 Clay Urn + 20 Fuel → 4; Beer → 2 | — (fixed recipe) | Embalming fluids, Dynamite |
Melted Fat itself carries 3 red runes and Alcohol 3 blue, so both also feed back into lab mixes.
Organ Improver (red skulls)
The Practical Potions technology unlocks the Organ Improver. Combine 1 organ with 1 Organ Improver at the Formulation Bench to turn that organ into its Gold version. Use the red skull Improver for red skulls and the white skull Improver for white.
Wikily lists 197 working mixes for the red skull version and 136 for the white. Easy red skull pairs:
- Copper Nugget + Red Mushroom
- Stone + Copper Nugget
- Tooth + Melted Fat
For the full corpse build, see organ improver for red skulls.
Reanimation Liquid (zombies)
- Laboratory II only. No one- or two-ingredient mix reaches 2 red + 1 green + 4 blue. Wikily counts 556 three-ingredient mixes.
- Mixes that work:
- Copper Nugget + Night flower + Night flower.
- Alcohol + Blood + Copper Nugget, as shown in one red-skull walkthrough.
- Another wiki lists Clay + Alcohol + Salt.
- You may not need to brew it early. Chests in the Old Mine, Sawmill and Resurrection Lab start with a few. Gunter sells it from trader level 2, and the town Alchemist sells it too. It is also a quest reward.
- The Reanimation Liquid technology comes from Gunter's book quest. The same technology unlocks the Alcohol recipes at the Distillation Cube.
- Each body on the Resurrection Table uses 1. The full pipeline is on the Zombies guide.
Paint and Preservative: alchemy that pays
Two cheap Laboratory I formulas are worth brewing in bulk once the lab is running:
- Paint (2 green). One Flour is enough. The Trademaster in the Port pays about 2 silver each at normal stock, and the Alchemist buys it too. Paint also goes into Printed Money, the Safe Harbor quest and the Church Shrine III building.
- Preservative (3 green). Water + Flour. It is the base of the corpse and zombie solutions and injections at the Formulation Bench, and the Alchemist pays about 3 silver each.
Prices drop as a trader's stock fills up, so sell a few at a time rather than one big pile. For where to sell paint and what else pays, see the money guide.
When to brew, when to wait
| Brew now | Wait |
|---|---|
| Dream Dust for the Plague Doctor quest | Studying every item you own |
| Preservative once embalming opens | Lab II potions you have no use for yet |
| Organ Improvers when you build red skull zombies | Buying Reanimation Liquid while starter chests are unopened |
| Paint when a quest or sale needs it | Battle potions before your first real fight |
Common fails
| Fail | Likely cause | Fix |
|---|---|---|
| Ingredient greyed out | Not studied | Study Table first |
| Nothing brews | Runes off by one | Recount each colour |
| Mix won't start | No flasks on the shelf; the alchemy overview on Wikily says brews also use fuel | Place Alchemy Flasks I; check fuel |
| Only two slots | Laboratory I | Three-ingredient formulas need Laboratory II |
| Science wasted | Studied an item with no runes | Study raw ingredients you plan to mix |
| Guides list different recipes | Rune substitutes | Any mix with the same runes works |
FAQ
Q: How does alchemy work in Graveyard Keeper 2?
A: Every ingredient carries red, green and blue runes. Study it once at the Study Table to reveal them, then combine ingredients at the Laboratory. If the runes add up exactly to a formula, you get that product; one rune too many or too few makes nothing.
Q: What is the difference between Laboratory I and Laboratory II?
A: Laboratory I takes up to two ingredients, Laboratory II up to three. Six formulas have no one- or two-ingredient mix and need Laboratory II: Reanimation Liquid, Berserker Potion III, Tannin Liquid, Alkali, Umami and Philosopher Stone.
Q: How do I make Reanimation Liquid?
A: At Laboratory II, combine three ingredients that add up to 2 red, 1 green and 4 blue, for example Copper Nugget + Night flower + Night flower, or Alcohol + Blood + Copper Nugget. Gunter and the Alchemist also sell it.
Q: How do I make an Organ Improver?
A: The red skull version is 4 red + 1 green (Copper Nugget + Red Mushroom, or Tooth + Melted Fat). The white skull version is 4 green (Flour + Flour). Use it with an organ at the Formulation Bench to get the Gold organ.
Q: Do I have to memorise recipes?
A: No. The first successful brew writes the formula into your Folio, and most formulas are also revealed by a technology. You only need to know which runes each studied ingredient carries.
Q: Can I use Graveyard Keeper 1 alchemy habits?
A: Mostly not. GK2 has no fixed ingredient lists: any studied ingredients with the right runes work, and body parts only carry runes in a few cases. Relearn the system with Dream Dust first.
Also read
- Dream Dust — your first brew, step by step
- Red skull zombies — where Organ Improvers go
- Zombies — Reanimation Liquid and resurrection
- Tech Tree Priority — the alchemy technologies in order
- Energy & early food — studying costs energy
- Systems hub — more Graveyard Keeper 2 systems guides