
Graveyard Keeper 2 Zombies: Unlock → Work → Optimize (One Hub)
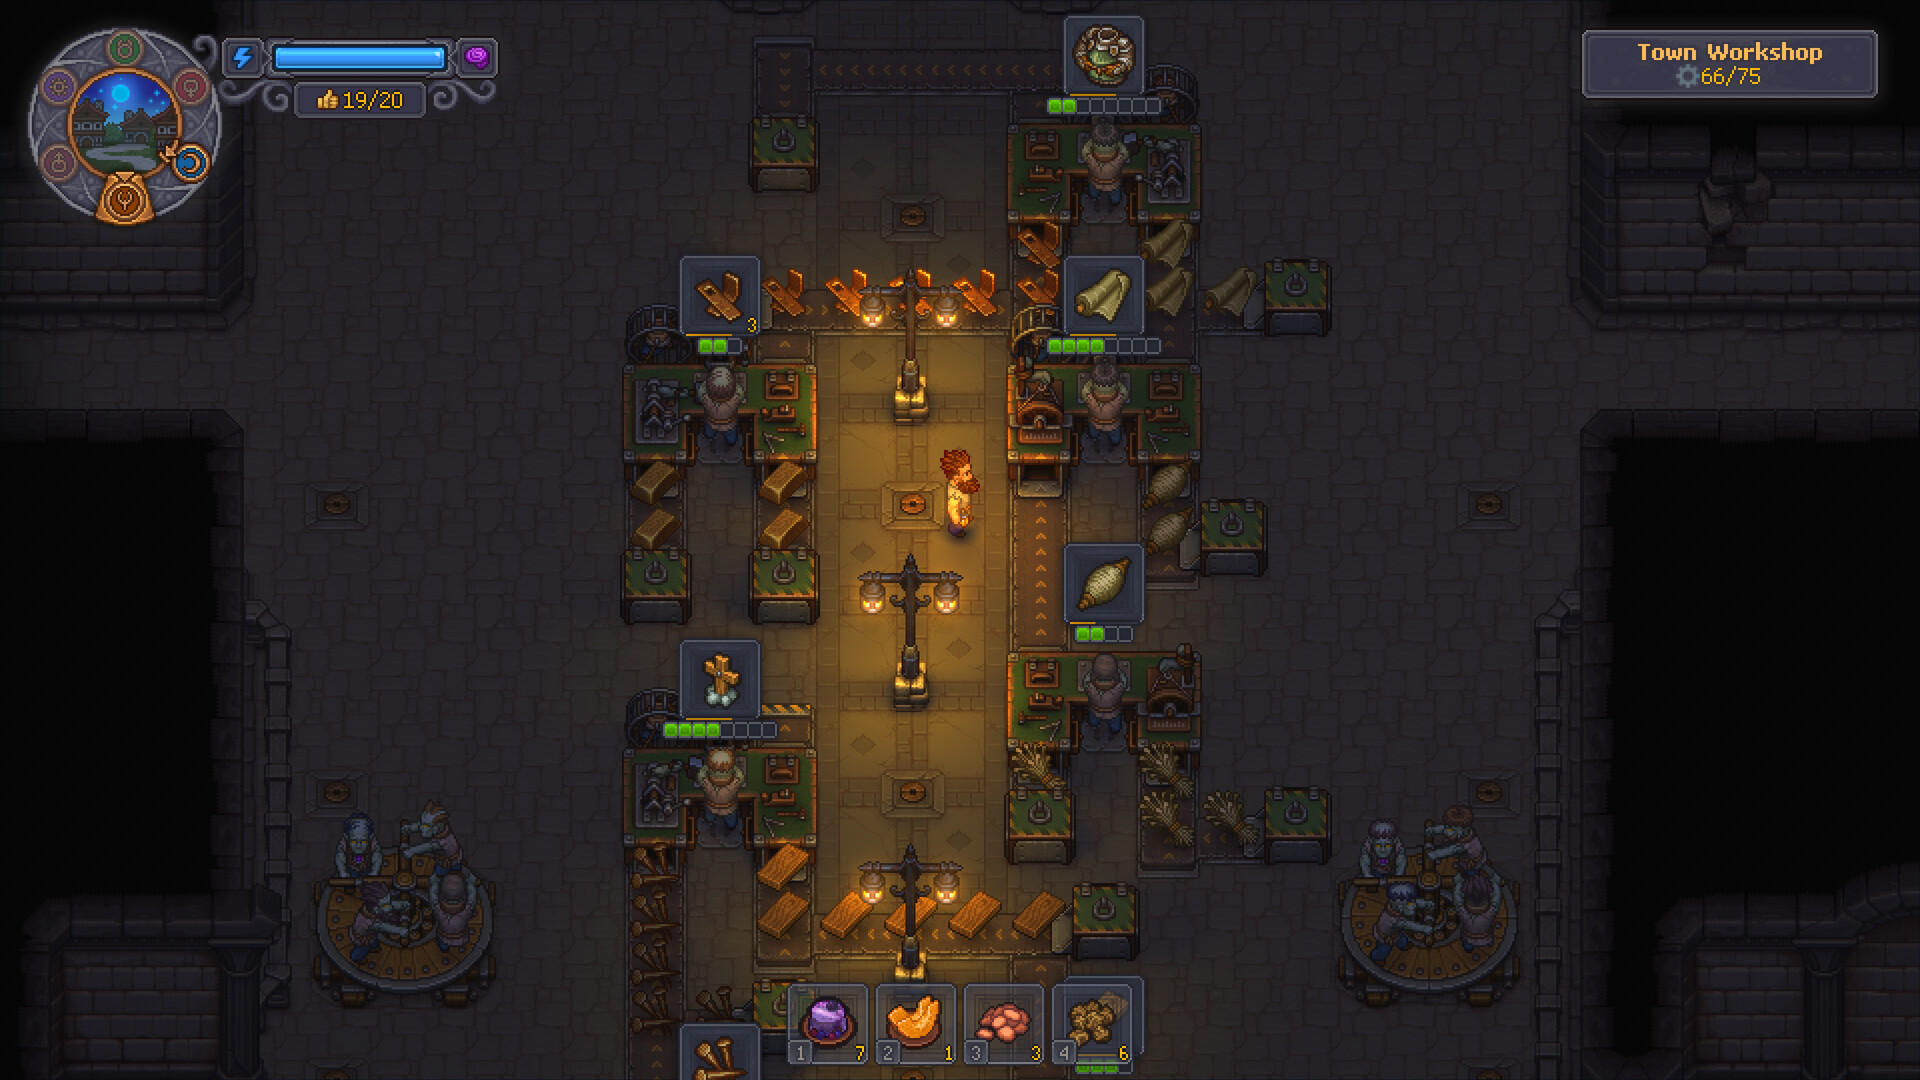
This Graveyard Keeper 2 guide takes you from no zombies → zombies producing → knowing what to improve next, in one pipeline: free zombies, the Resurrection Table, tools and mastery, supplier stations, collars and the errors that stop you.
TL;DR — Zombie pipeline stages
| Stage | Job | Done when | Guide |
|---|---|---|---|
| 1 Unlock | Finish the Dream Dust / Plague Doctor quest; collect the 2 + 3 free zombies | 5 story zombies in hand | Dream Dust unlock |
| 2 First own zombie | Open the lab, build a Resurrection Table, prepare a corpse, use the device on Envy | ≥1 zombie you raised yourself | Stage 2 |
| 3 Put to work | Give a tool, place on a station, add a supplier zombie | A station runs without you | Stage 3 |
| 4 Optimize | Collars, organ swaps, red skulls, zombie limit | You know which body deserves a better collar | Red Skull Zombies |
| 5 Scale | Porters, factory, combat squads | Checklist started | Automation |
Part of the Corpses hub — More corpse & zombie guides
Stage 1 — Unlock gate and the 5 free zombies
The campaign hands you five zombies before you craft anything:
| Free zombies | From | Quest |
|---|---|---|
| 2 | The Plague Doctor, after he tests your Dream Dust | Sweet Dreams |
| 3 | Gunter the astrologer | Friendship Written in the Stars |
- Clear the gate first. Dream Dust is what opens the Plague Doctor's lab and his zombie reward — full steps on Dream Dust unlock.
- Don't burn materials early. Put the five free zombies on the most tedious jobs (hauling, chopping, farming) and save collars and Reanimation Liquid for good corpses.
Common fail: skipping Study Table research before brewing Dream Dust. Read the Dream Dust page before blaming the Resurrection Table.
Stage 2 — Resurrection Lab, table & first workers
| Step | Action | Done when |
|---|---|---|
| 1 | Open the old door near the Morgue with 1 Bronze Detail + 1 Melted Fat (Melted Fat: 1 Fat + 2 Clay Plates + 20 Fuel at a Distillation Cube) | Lab room open; its chest holds starter Reanimation Liquid + Bronze Zombie Collars |
| 2 | Research Reanimation on the Anatomy & Alchemy tree | Resurrection Table and Bronze collar recipes available |
| 3 | Build a Resurrection Table I in the lab (common build: 2 Oiled Planks, 4 Polished Stone, 3 Glass). You can place up to 4 | Table interactable |
| 4 | Put a complete corpse on it, add 1 Reanimation Liquid + 1 Zombie Collar, press Prepare | Prepare succeeds |
| 5 | On Envy (the green icon on the calendar), use the Resurrection device | Zombie rises |
Two timing rules that save a week:
- One device use raises every prepared table. Prepare all four tables first (Lust, the day before, is a good prep day), then pull once. After that the lab has no power until the very end of the next Lust.
- Prayer for Storms gives the "God of the storms" blessing: for 1 h 30 min the device works on any day, as often as you like.
Polished Stone, if you are stuck: 4 Piece of stone + 1 Melted Fat + 2 Sand at a Stonemason's Workbench makes 4.
What goes on the table
| Input | Rule | Where to get it |
|---|---|---|
| Corpse | All six vital organs: skull, brain, heart, guts, bones, skin. A Surgeon's Error in one of those slots also blocks it | Your Morgue; prep on Autopsy |
| Reanimation Liquid | 1 per zombie | Starter chest; sold by Gunter and the Alchemist; later brewed — craft Reanimation Liquid at Laboratory II |
| Zombie Collar | Its red-skull cap must be at least the corpse's red count | Jewelry Table or the Jeweler (table below) |
Brewing Reanimation Liquid: Gunter's Necronomicon quest unlocks the Reanimation Liquid technology. The mix is brewed at Laboratory II (three ingredient slots) and needs exactly 2 red + 1 green + 4 blue runes. Any ingredients that add up work; two examples are Copper Nugget + Night flower + Night flower, and Clay + Alcohol + Salt.
Zombie collars
| Collar | Red skulls | Jewelry Table recipe | Unlocked by |
|---|---|---|---|
| Bronze Zombie Collar | 0–5 | 1 Bronze Ingot + 1 Blue Crystal + 3 Faith | Reanimation |
| Golden Zombie Collar | 0–10 | 1 Golden ingot + 1 Blue Crystal + 5 Faith (Smithing 8) | Reanimation II |
| Steel Zombie Collar | 0–99 | 1 Steel Ingot + 1 Blue Crystal + 10 Faith | Reanimation III |
Blue Crystals are sold by Gunter and also found in the Swamp. The Jeweler sells Bronze collars, Golden from trader level 2 and Steel from level 3. Every collar costs Faith, so plan your sermons — Faith for zombie collars.
Stage 3 — Put zombies to work
Every new zombie starts with 0 mastery. Placed on a bench as-is, it just stands there. That is not a bug.
A zombie has the Keeper's five masteries — Building, Smithing, Farming, Book writing and Anatomy. For any recipe, its mastery is: nodes it bought on that tree + the tool in its hand + any perk for that job. It holds one tool (or weapon) and one armor.
Tools → mastery
| Tool tier | Axe / pickaxe (Building), hammer (Smithing), shovel (Farming) |
|---|---|
| Rusty | +1 |
| Bronze | +2 |
| Iron | +4 |
| Steel | +6 |
Fishing rods follow the same +1 / +2 / +4 / +6 steps for Farming. Book writing tools (Primer, talismans) and Anatomy tools (Butcher's Kit, Surgeon's Kit) give +1 to +4. Some items are weaker than the name suggests: "Iron tools" give +2 Smithing while an Iron Hammer gives +4 — read the tooltip.
Give every new zombie the best tool you own for its job; it is the fastest way to reach a recipe's mastery requirement. A shovel also covers kitchen work, because cooking is Farming.
Stations that need a specific tool
| Station | Tool in hand |
|---|---|
| Chopping Spot, Lumberjack stand | Axe |
| Wooden / Iron / Steel Anvil | Hammer |
| Zombie Stone Quarry, Marble Quarry, Zombie Miner | Pickaxe |
| Clay Digger, Sand Digger, Gardener Stand | Shovel |
Most other benches (sawhorse, furnace, kitchen table, millstone, writing desk, jewelry table) need no specific tool — only enough mastery, which a tool can still supply.
Supplier + worker: the two-zombie rule
Workstation zombies do not fetch their own materials. A zombie on a Zombie Supplier Station delivers inputs to every workstation zombie in its area and clears finished products into chests. So every automated job is a pair: one zombie crafts, one hauls.
- Unlock the Zombie Supplier Station and build it near your benches, with a storage chest.
- Put one zombie on the supplier station (no tool needed).
- Put a tooled zombie on the bench, select the recipe and quantity, add to queue.
- Put the materials in the chest and watch one full cycle.
Also useful:
- Zombies learn on the job. They earn tech points while they craft and spend them on their own trees.
- Gardening is separate: research zombie gardening, build a Gardener Stand, give the zombie a shovel, and place crop tablets from the build menu on each row so it knows what to plant.
- Patch notes: 1.005 made pending zombie crafts show when the skill level is too low; 1.006 fixed kitchen zombies that used or burned ingredients without producing the dish — update before you debug.
Stage 4 — Collars, organs, red skulls (intro)
| Topic | What to know |
|---|---|
| Red skulls | Each red skull on the corpse opens one perk slot. Every node the zombie buys on its trees, perk or mastery, takes a slot |
| White skulls | Do nothing for a zombie; they matter only for graves |
| Organ swaps later | A raised zombie can go back on the autopsy table for better parts, as long as the total stays inside its collar |
| Collar upgrades | A collar can be swapped for one with a higher red limit |
| Better corpses | Agatha's Brawns and Brains quest at the Crossroads raises the red skulls on arriving corpses |
| When to care | After basic workers run and one station is the bottleneck |
Step-by-step builds: Build a 5 or 10 red skull worker.
Zombie limit (the Excessive zombies debuff)
The zombie limit equals your Resurrection Lab's quality. Going over it gives the Keeper Excessive zombies, which cuts what every sermon pays. Guides disagree on whether it also stops the table (see Troubleshooting); either way:
- The count is checked when a PR Machine program starts or ends, not at the moment you resurrect.
- The PR Machine raises the limit; it is loaded on Gluttony only. Its first program adds +10 for a week for 2 Charged hypno-devices; later programs use newspapers.
- A successful Hypno Prayer clears the debuff when granted.
Patch 1.007 fixed the PR Machine not working.
Early on, keep the army small: one specialist per mastery you need, plus haulers.
Stage 5 — Toward porters, factory and combat
Once several zombies work reliably:
- Stop adding chaotic manual assignments and open the checklist on Automation.
- Porter Station zombies carry raw materials to the Factory; Zombie Carousels add factory power.
- Unlock techs in order → Tech Tree Priority.
Combat squads: after the first battle, the Barracks let you form squads of 4. A zombie fighter needs armor and a pike or a bow — swords are not an option. A zombie missing either piece won't join the fight. Low-red bodies you don't want to specialize are fine here.
Troubleshooting: every Resurrection Table error
| What you see | Cause | Fix |
|---|---|---|
| "This body is missing vital organs." | A vital organ is missing, or a Surgeon's Error sits in its slot | Put all six back (skull, brain, heart, guts, bones, skin) |
| Reanimation Liquid required | No liquid on the table | Add 1 Reanimation Liquid |
| Zombie Collar required | No collar on the table | Add a collar |
| "This Zombie Collar isn't good enough for this corpse." | Corpse has more reds than the collar allows | Use a higher collar, or remove red parts |
| Not enough power / device won't fire | It isn't Envy, or this week's charge is spent | Wait for the next Envy, or use Prayer for Storms |
| Zombie limit reached | Fextralife lists this message; Wikily says the count never blocks a resurrection and only triggers Excessive zombies | If you see it, run a PR Machine program; otherwise expect the sermon debuff |
Zombie exists but won't work
| Symptom | Likely cause | Fix |
|---|---|---|
| Stands idle on a bench | 0 mastery / no tool | Equip the best tool for that mastery |
| Idle on a tool station | Wrong tool type | Axe, hammer, pickaxe or shovel as listed above |
| Works once, then stops | No supplier zombie, or output storage full | Add a Zombie Supplier Station zombie; empty chests |
| Recipe greyed out | Mastery below the recipe's requirement | Better tool, perk points, or a simpler recipe |
| Gardener does nothing | No crop tablets | Place tablets on each row |
Steam update 1.005 also fixed several "cannot resurrect despite requirements met" cases.
Done when checklist
- [ ] Dream Dust / Plague Doctor gate cleared; 5 free zombies collected
- [ ] Resurrection Lab open and at least one Resurrection Table built
- [ ] ≥1 corpse prepared and raised on Envy
- [ ] Every working zombie has a tool matching its job
- [ ] One supplier + worker pair runs a full cycle without you
- [ ] You know your collar caps (5 / 10 / 99) and your zombie limit
FAQ
Q: How do I get zombies in Graveyard Keeper 2?
A: The story gives you five for free: 2 from the Plague Doctor at the end of the Dream Dust quest (Sweet Dreams) and 3 from Gunter (Friendship Written in the Stars). After that you raise your own on the Resurrection Table.
Q: What do I need to resurrect a zombie?
A: A corpse with all six vital organs, 1 Reanimation Liquid and a Zombie Collar whose red-skull cap fits the corpse, on a Resurrection Table. Use the Resurrection device on Envy, or on any day while the Prayer for Storms blessing lasts.
Q: Why won't my zombie work?
A: New zombies have 0 mastery. Give it a tool for the matching mastery (a better tool gives more mastery), put it on a station whose recipe it can meet, and make sure a zombie on a Zombie Supplier Station is bringing materials.
Q: How many zombies can I raise at once?
A: You can build up to 4 Resurrection Tables. One use of the device on Envy raises a zombie on every prepared table, and the lab then has no power until the end of the next Lust.
Q: What are the zombie collar limits?
A: Bronze Zombie Collar up to 5 red skulls, Golden up to 10, Steel up to 99. Each is made at the Jewelry Table from 1 matching ingot, 1 Blue Crystal and 3, 5 or 10 Faith.
Q: Can zombies fight?
A: Yes, from the Barracks in squads of 4. A zombie fighter needs armor and a pike or a bow; zombies cannot use swords.
Also read
- Build a 5 or 10 red skull worker — collar caps, organ swaps, embalming
- Autopsy & Skulls — which corpses become workers
- Dream Dust unlock — the Plague Doctor gate
- Craft Reanimation Liquid at Laboratory II — runes and mixes
- Automation — supplier, porter and factory checklist
- Corpses hub — more corpse & zombie guides