
Graveyard Keeper 2 Inspirations: How They Work and the Best Early Perks
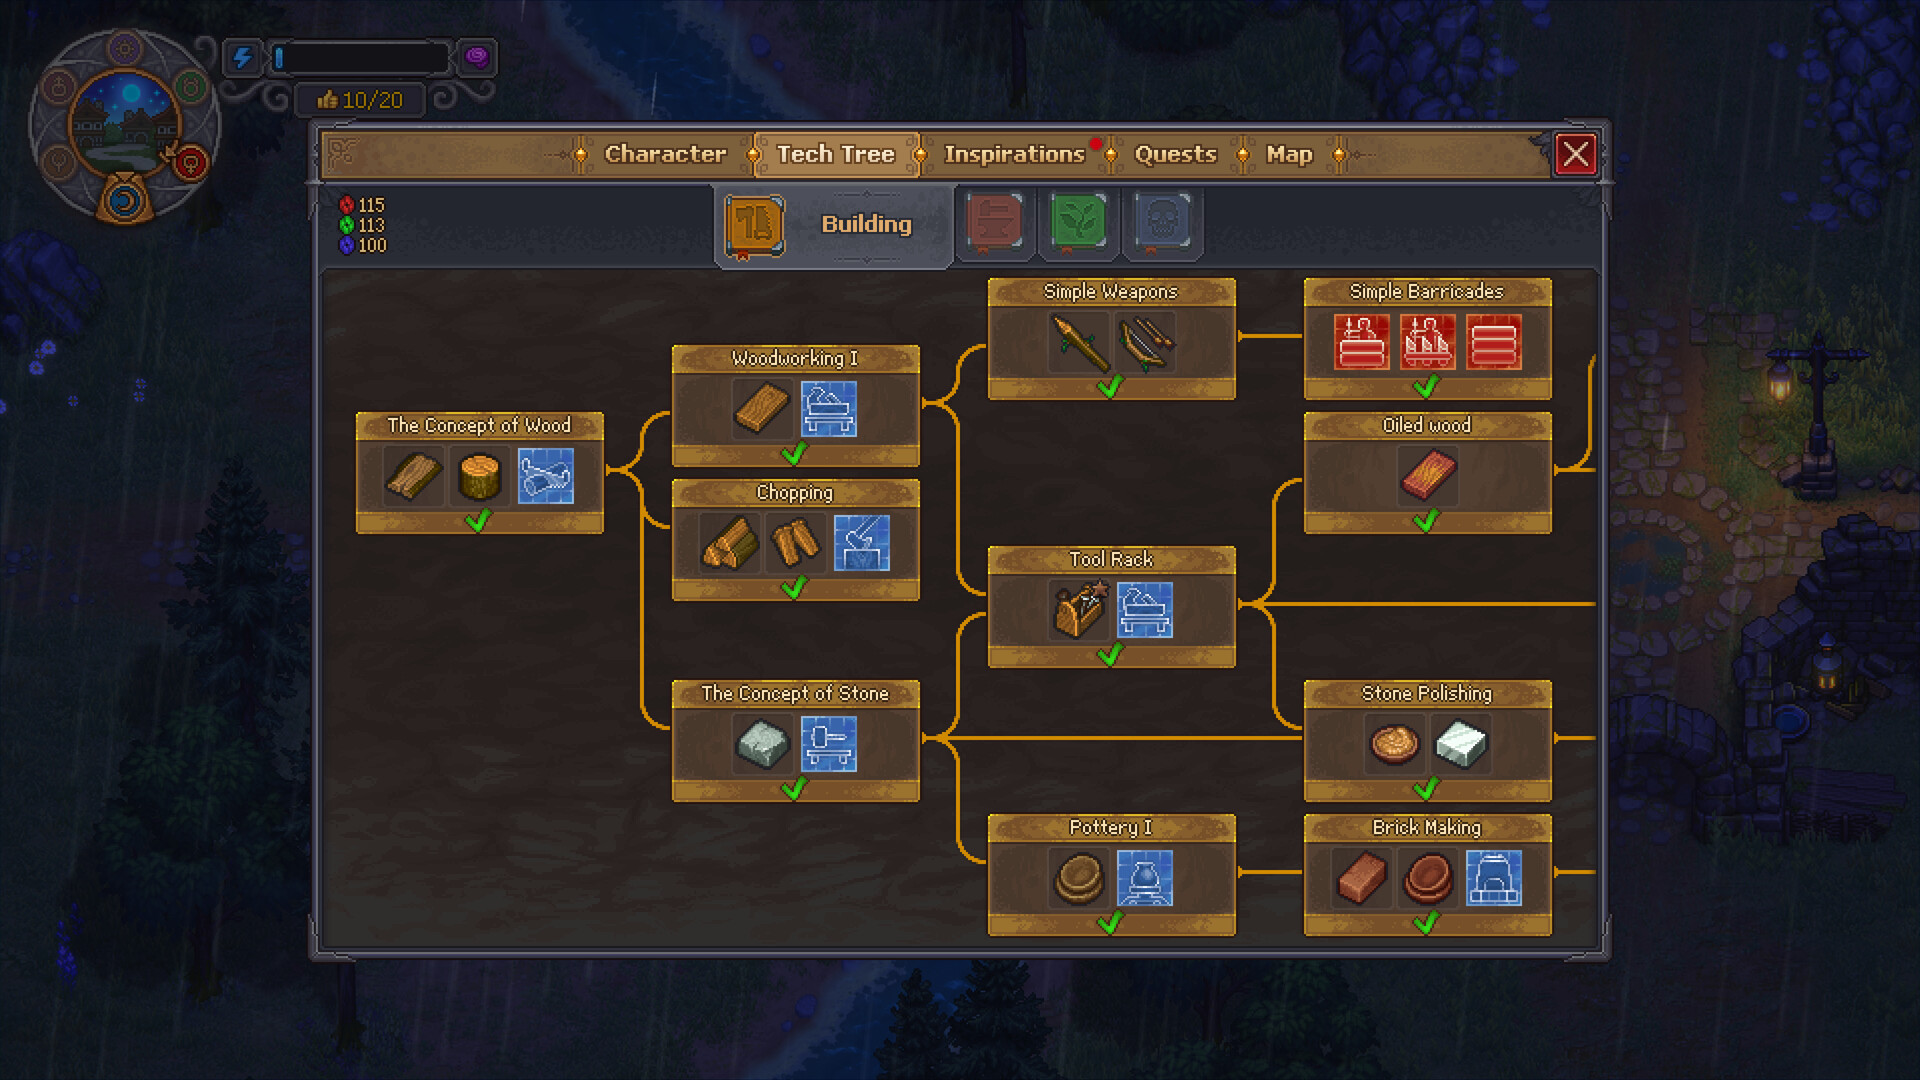
Inspirations are how the Keeper levels up in Graveyard Keeper 2. Everyday actions fill counters, you pay Faith to claim them, and the claims become points for five perk trees. This page explains the loop, compares it with tech points, and picks the perks worth buying first.
TL;DR — Inspirations in six lines
- 71 inspirations, each counting one kind of action (burials, sermons, studies, marble cutting…).
- Reach a goal → claim it for Faith. Level I is free on most of them; later levels cost more. Earn Faith to claim inspirations.
- Claims fill a coloured bar. A full bar = 1 inspiration point for that colour's perk tree.
- Five trees: Building, Smithing, Farming, Book writing, Anatomy. Every node costs 1 point.
- Early picks: mastery nodes, Carrier, Axeman, Priest, Researcher, Cook.
- Five perks do nothing — Artist, Son of a butcher, Master Brewer, Green Thumb, Sommelier.
Part of the Systems hub — More Graveyard Keeper 2 systems guides
How inspirations work
- Do the action. Every inspiration tracks one thing — bury bodies (Last Respects), examine items on the Study Table (Researcher), hold sermons (Holy Routine). Counts are running totals and never reset.
- Hit a goal. Most inspirations have 6 levels with rising goals.
- Claim it for Faith. Level I costs nothing on 52 of the 71; later levels can cost up to 250 Faith.
- Watch the bar. Each claim adds 1 or 2 notches to the bar of that inspiration's colour.
- Collect a point. Point costs rise: 2 notches for the first, 3 for the second, 4 for the third, then 5 apiece.
- Buy a node. Each perk-tree node costs 1 point of its colour and needs every connected node above it.
Because points get dearer, your first few claims in each colour are the best value. Spread early Faith across colours instead of pushing one bar.
Worked example: most levels add 1 notch and the last level of an inspiration adds 2. Five level-I claims in Building — all free on most inspirations — fill 2 + 3 = 5 notches, which is two points: enough for Building mastery +1 and then Carrier. The third Building point needs 4 more notches, the fourth 5.
Inspirations vs tech points
| Inspirations | Tech points | |
|---|---|---|
| What they buy | Perks and mastery nodes on 5 perk trees | Recipes, stations and buildings on the tech tree |
| How you earn them | Claim inspiration goals with Faith | Crafting, autopsies, studies and more (red, green, blue) |
| Currency | 5 colours of inspiration points | Red, green and blue tech points |
| Faith needed | Yes, for most claims | Some studies take Faith as well |
Both matter from day one. For the tech side, see tech points explained and the tech tree priority list.
The five trees at a glance
| Tree | Inspirations | Levels | Bar notches | Faith for every level | Nodes (perks + mastery) |
|---|---|---|---|---|---|
| Building | 15 | 75 | 90 | 551 | 11 + 5 |
| Smithing | 13 | 73 | 86 | 1,728 | 13 + 5 |
| Farming | 13 | 74 | 87 | 254 | 16 + 5 |
| Book writing | 13 | 70 | 84 | 570 | 13 + 5 |
| Anatomy | 17 | 90 | 106 | 1,232 | 15 + 5 |
The Farming tree's 21 nodes need 99 notches but all Farming inspirations together give only 87, so it can't be completed.
Farming is the cheapest tree to fill with Faith and Smithing the dearest. Nobody claims everything early; the table shows where each Faith goes furthest.
Mastery nodes: the quiet best buy
Every tree has 5 mastery nodes, each worth +1 mastery in its skill. Mastery gates recipes — for example, a headstone needs Building mastery equal to its wreaths, and the Golden Zombie Collar needs Smithing mastery 8 (soldier's stew gives +2 for a while).
Mastery also speeds work: with twice the mastery a recipe needs, it finishes in half the ticks; with three times, in a third. Eleven of the talent perks give a +2 to +4 mastery bonus at one station or on one material, such as Scribe (+4 at the Writing Desk) or Expert anatomist (+4 at the Autopsy Table). One creator's video advises heading for the mastery nodes early; the numbers back that up.
Best early perks by tree
| Perk | Tree | Needs | What it does | Why early |
|---|---|---|---|---|
| Carrier | Building | Building mastery +1 | Carry more on your head | Fewer log and stone trips |
| Axeman | Building | Building mastery +1 | Firewood 15 instead of 10; +1 Log from most trees | Wood is your first bottleneck |
| Mason | Building | Building mastery +1 | 50% chance of extra stone at the Stonemason's Workbench | Stone for graves and upgrades |
| Priest | Book writing | Book writing mastery +1 | Extra Faith from ceremonies | Faith feeds every claim |
| Paper maker | Book writing | Tier 2 | More Leather Scroll and Clean Paper per craft | Paper for prayers |
| Researcher | Anatomy | Tier 2 | Study faster for less energy | Studies unlock runes and recipes |
| Monument builder | Anatomy | Anatomy mastery +1 | +4 Building mastery on gravestones and fences | Better graves sooner |
| Cook | Farming | Farming mastery +1 | Bread 6 instead of 4, plus more dishes | Cheaper energy |
| Miner | Smithing | Tier 2 | +1 Copper Nugget and +1 Iron Ore per vein | More metal per swing |
One creator's early-game video takes Carrier first (about 4 logs at once) and then Priest for Faith, or Paper maker on the way to Scribe for better prayers. That order suits a first week built around sermons and graveyard quality.
Later picks worth planning for: Surgeon (autopsy operations start with 2 successful ticks), Treasure Hunter (organs sometimes hold silver), Performer (successful ceremonies pay extra Faith and silver), Good fellow (+10 zombie limit without the PR penalty), Iron Will (insanity never above 70%) and Deep Pockets (bigger inventory).
Perks with no effect
Wikily lists five perks that do nothing in the current build:
| Perk | Tree | Catch |
|---|---|---|
| Artist | Building | Leads to a Building mastery node |
| Son of a butcher | Anatomy | Tooltip promises cheaper autopsies; they cost the same |
| Master Brewer | Farming | Needed before Brewer (Mead and Beer 8 instead of 5) |
| Green Thumb | Farming | Needed before Farmer (+1 crop on 9 crops) |
| Sommelier | Farming | Wine turns out the same |
Buy one of these only when it opens a node you actually want. A later patch may fix them, as 1.007 fixed Tempering Expert (Smithing), which now gives its mastery bonus and unlocks Master Armor and sword crafting.
Holy Routine and other inspirations to track
Holy Routine (Book writing) appears after the Holy Moly! quest and counts every sermon, whatever the prayer:
| Level | Sermons | Faith to claim |
|---|---|---|
| I | 1 | Free |
| II | 3 | 1 |
| III | 7 | 5 |
| IV | 15 | 8 |
| V | 30 | 10 |
| VI | 100 | 20 |
That is 44 Faith for 7 notches. Other inspirations you will fill anyway:
| Inspiration | Tree | Counts | Goals | Faith for all levels |
|---|---|---|---|---|
| Last Respects | Anatomy | Burials | 1 / 5 / 10 / 25 / 50 / 100 | 60 |
| Researcher | Anatomy | Study Table exams | 1 / 5 / 25 / 50 / 150 / 300 | 181 |
| Resting Place | Anatomy | Graveyard quality | 10 / 20 / 30 / 60 / 120 / 200 | 49 |
| Milestone Hunter | Book writing | Milestones unlocked | 2 / 4 / 6 / 7 / 9 / 11 | 126 |
Milestone Hunter costs more Faith to finish than the milestones themselves (23) — see fast travel.
A Faith budget for the first weeks
Faith is shared with milestones, zombie collars (Bronze 3, Golden 5, Steel 10 Faith) and some studies. A simple rule:
- Claim every free level I as soon as it appears.
- Keep a few Faith in hand. An early quest, Fighting Spirit Required, takes 3.
- Activate the Village and Port milestones before paying for level III+ claims.
- Then claim the cheap levels in colours you want next, starting with Building and Book writing.
Common mistakes
| Mistake | Fix |
|---|---|
| Mixing up inspiration and tech points | Different trees, different currency |
| Pouring all Faith into one colour | Each colour's first points are cheapest |
| Buying Artist or Son of a butcher for the effect | They do nothing; buy only as a path |
| Waiting to claim free levels | Claim right away — no Faith lost |
| Ignoring mastery nodes | Faster crafts and higher-tier recipes |
FAQ
Q: What are inspirations in Graveyard Keeper 2?
A: Running counters for one kind of action each, such as burying bodies or holding sermons. Reach a goal, claim it for Faith, and the claim fills the inspiration bar of that colour. A full bar gives one point for that perk tree.
Q: How do I get inspiration points?
A: Claim reached inspiration goals. Each claim adds 1 or 2 notches to the bar of its colour. Point costs rise: 2 notches for the first, 3 for the second, 4 for the third, then 5 apiece.
Q: How much Faith does it take to claim every inspiration?
A: About 4,335 Faith across all 71: Smithing 1,728, Anatomy 1,232, Book writing 570, Building 551 and Farming 254. Nobody needs all of it early; claim the cheap levels first.
Q: How many points does a full perk tree need?
A: Building needs 16 points (74 bar notches), Smithing and Book writing 18 each, Anatomy 20 and Farming 21. Each tree has 5 mastery nodes; the rest are perks.
Q: Which perks should I take first?
A: Mastery nodes and perks that save time on daily jobs: Carrier and Axeman in Building, Priest in Book writing, Researcher in Anatomy and Cook in Farming. Skip the five perks that have no effect unless they open a node you want.
Q: Which Keeper perks have no effect?
A: Artist (Building), Son of a butcher (Anatomy), and Master Brewer, Green Thumb and Sommelier (Farming) have no effect. Master Brewer and Green Thumb still sit in front of Brewer and Farmer.
Also read
- Faith & sermons — the Faith every claim needs
- Tech points explained — the other point system
- Tech tree priority — what to unlock first
- Fast travel — milestones and Milestone Hunter
- Graveyard quality — Resting Place and Monument builder
- Systems hub — more Graveyard Keeper 2 systems guides